This article will show you how to setup the iPad for use with the Apexhost system using SSL
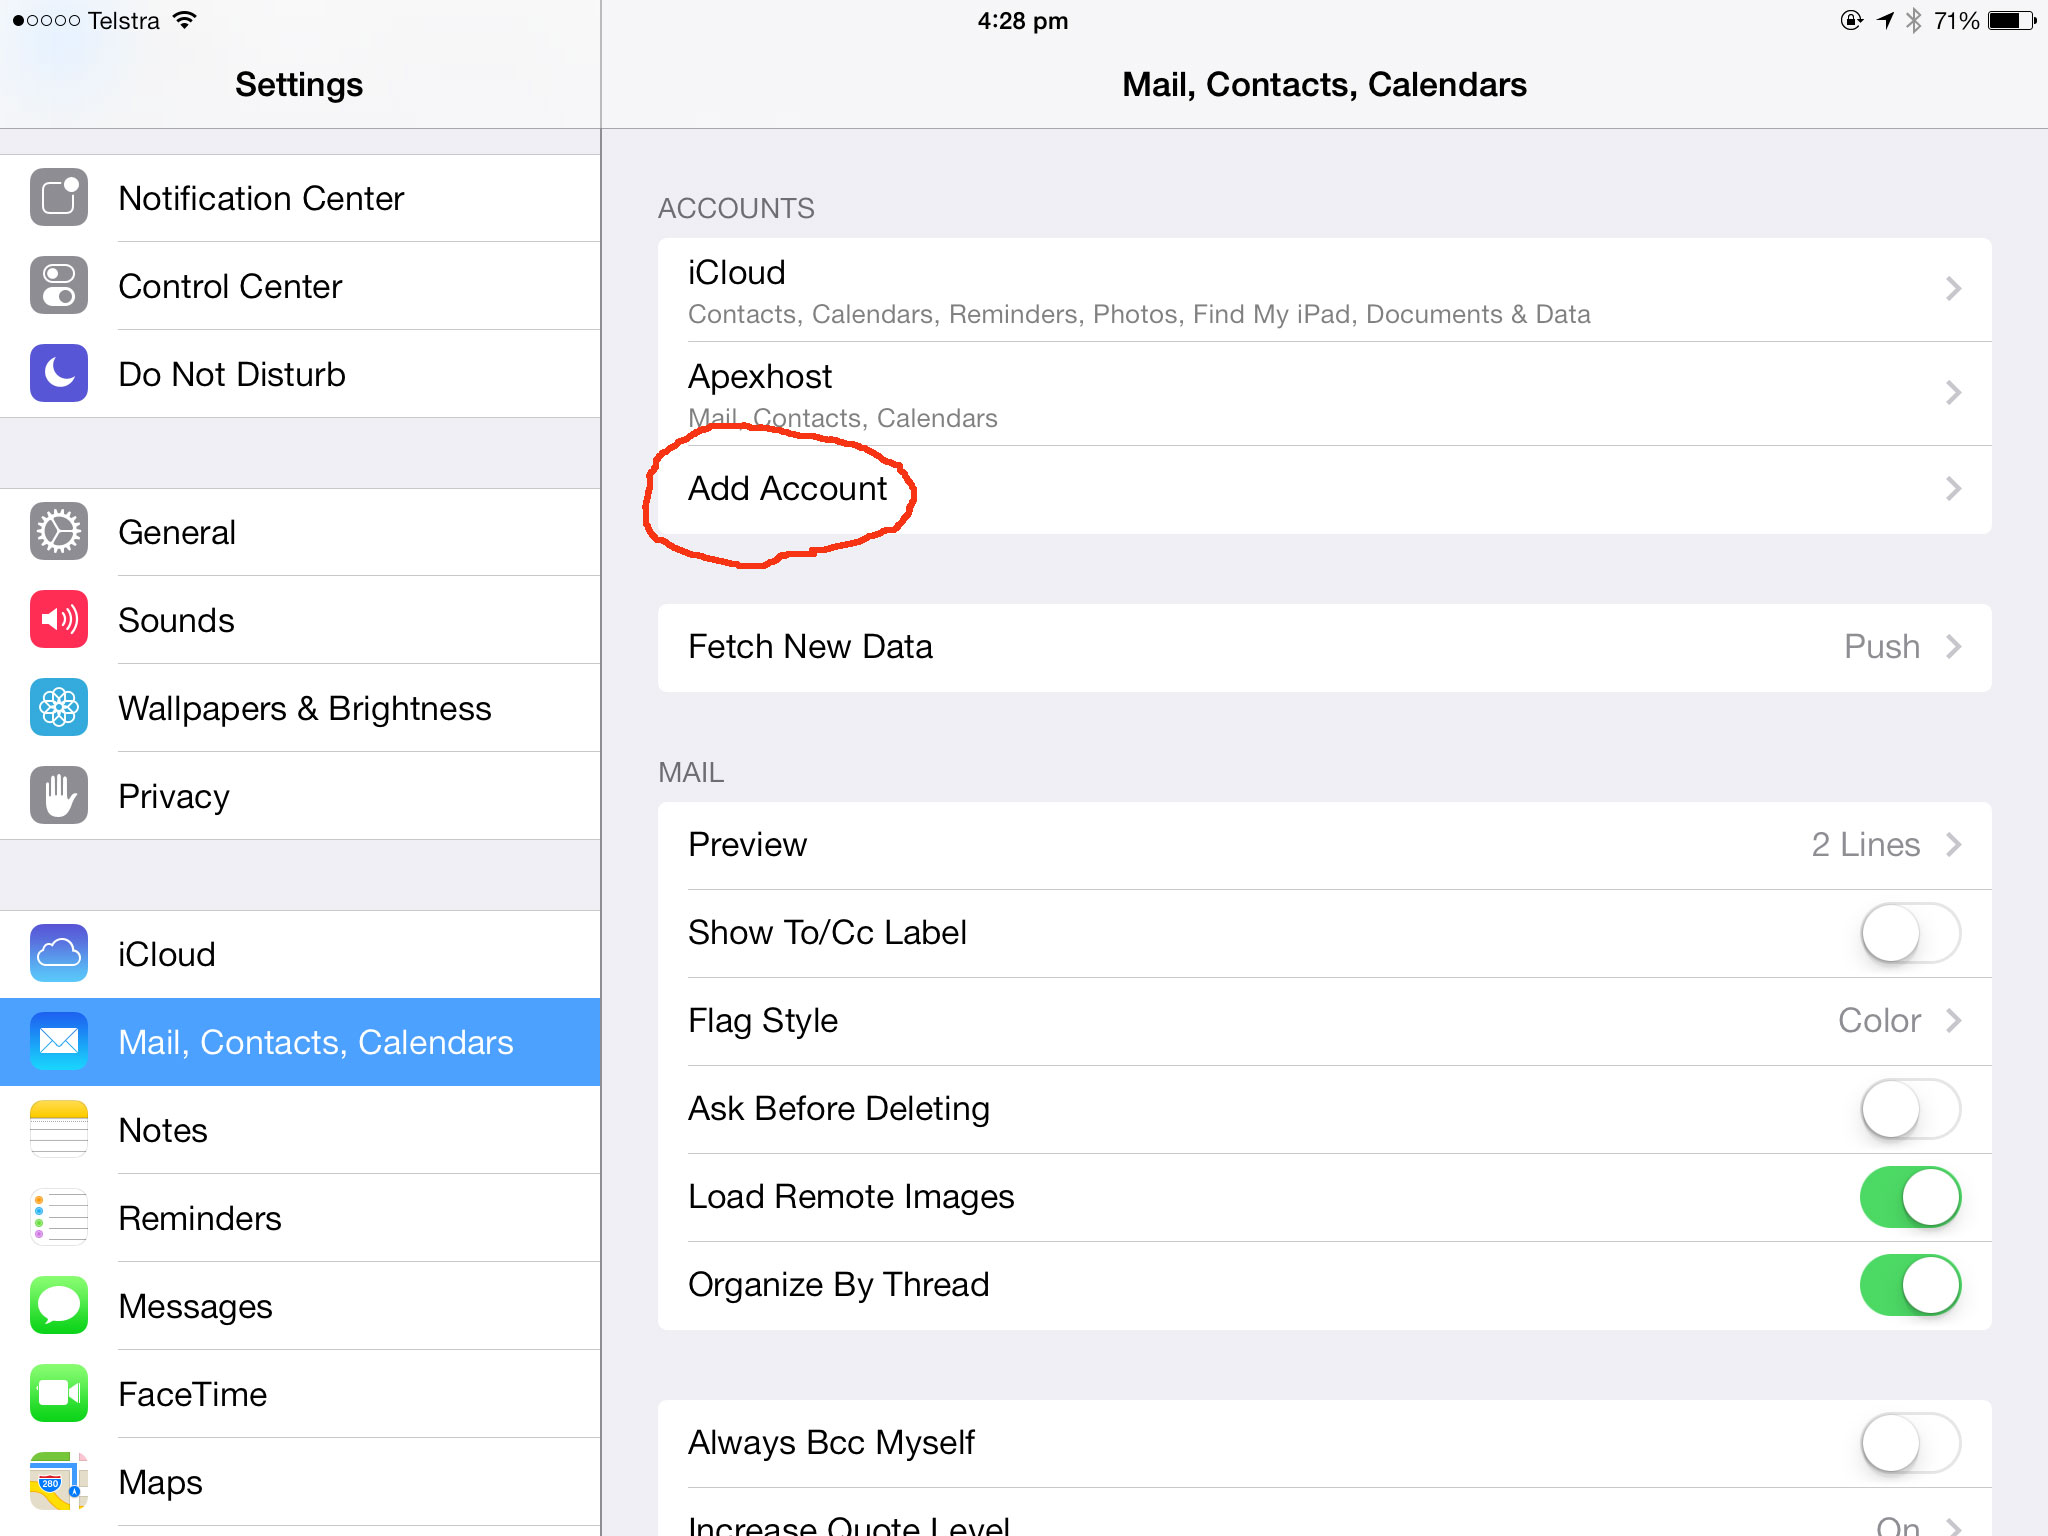
First open the iPad and tap settings then Mail Contacts Calendars
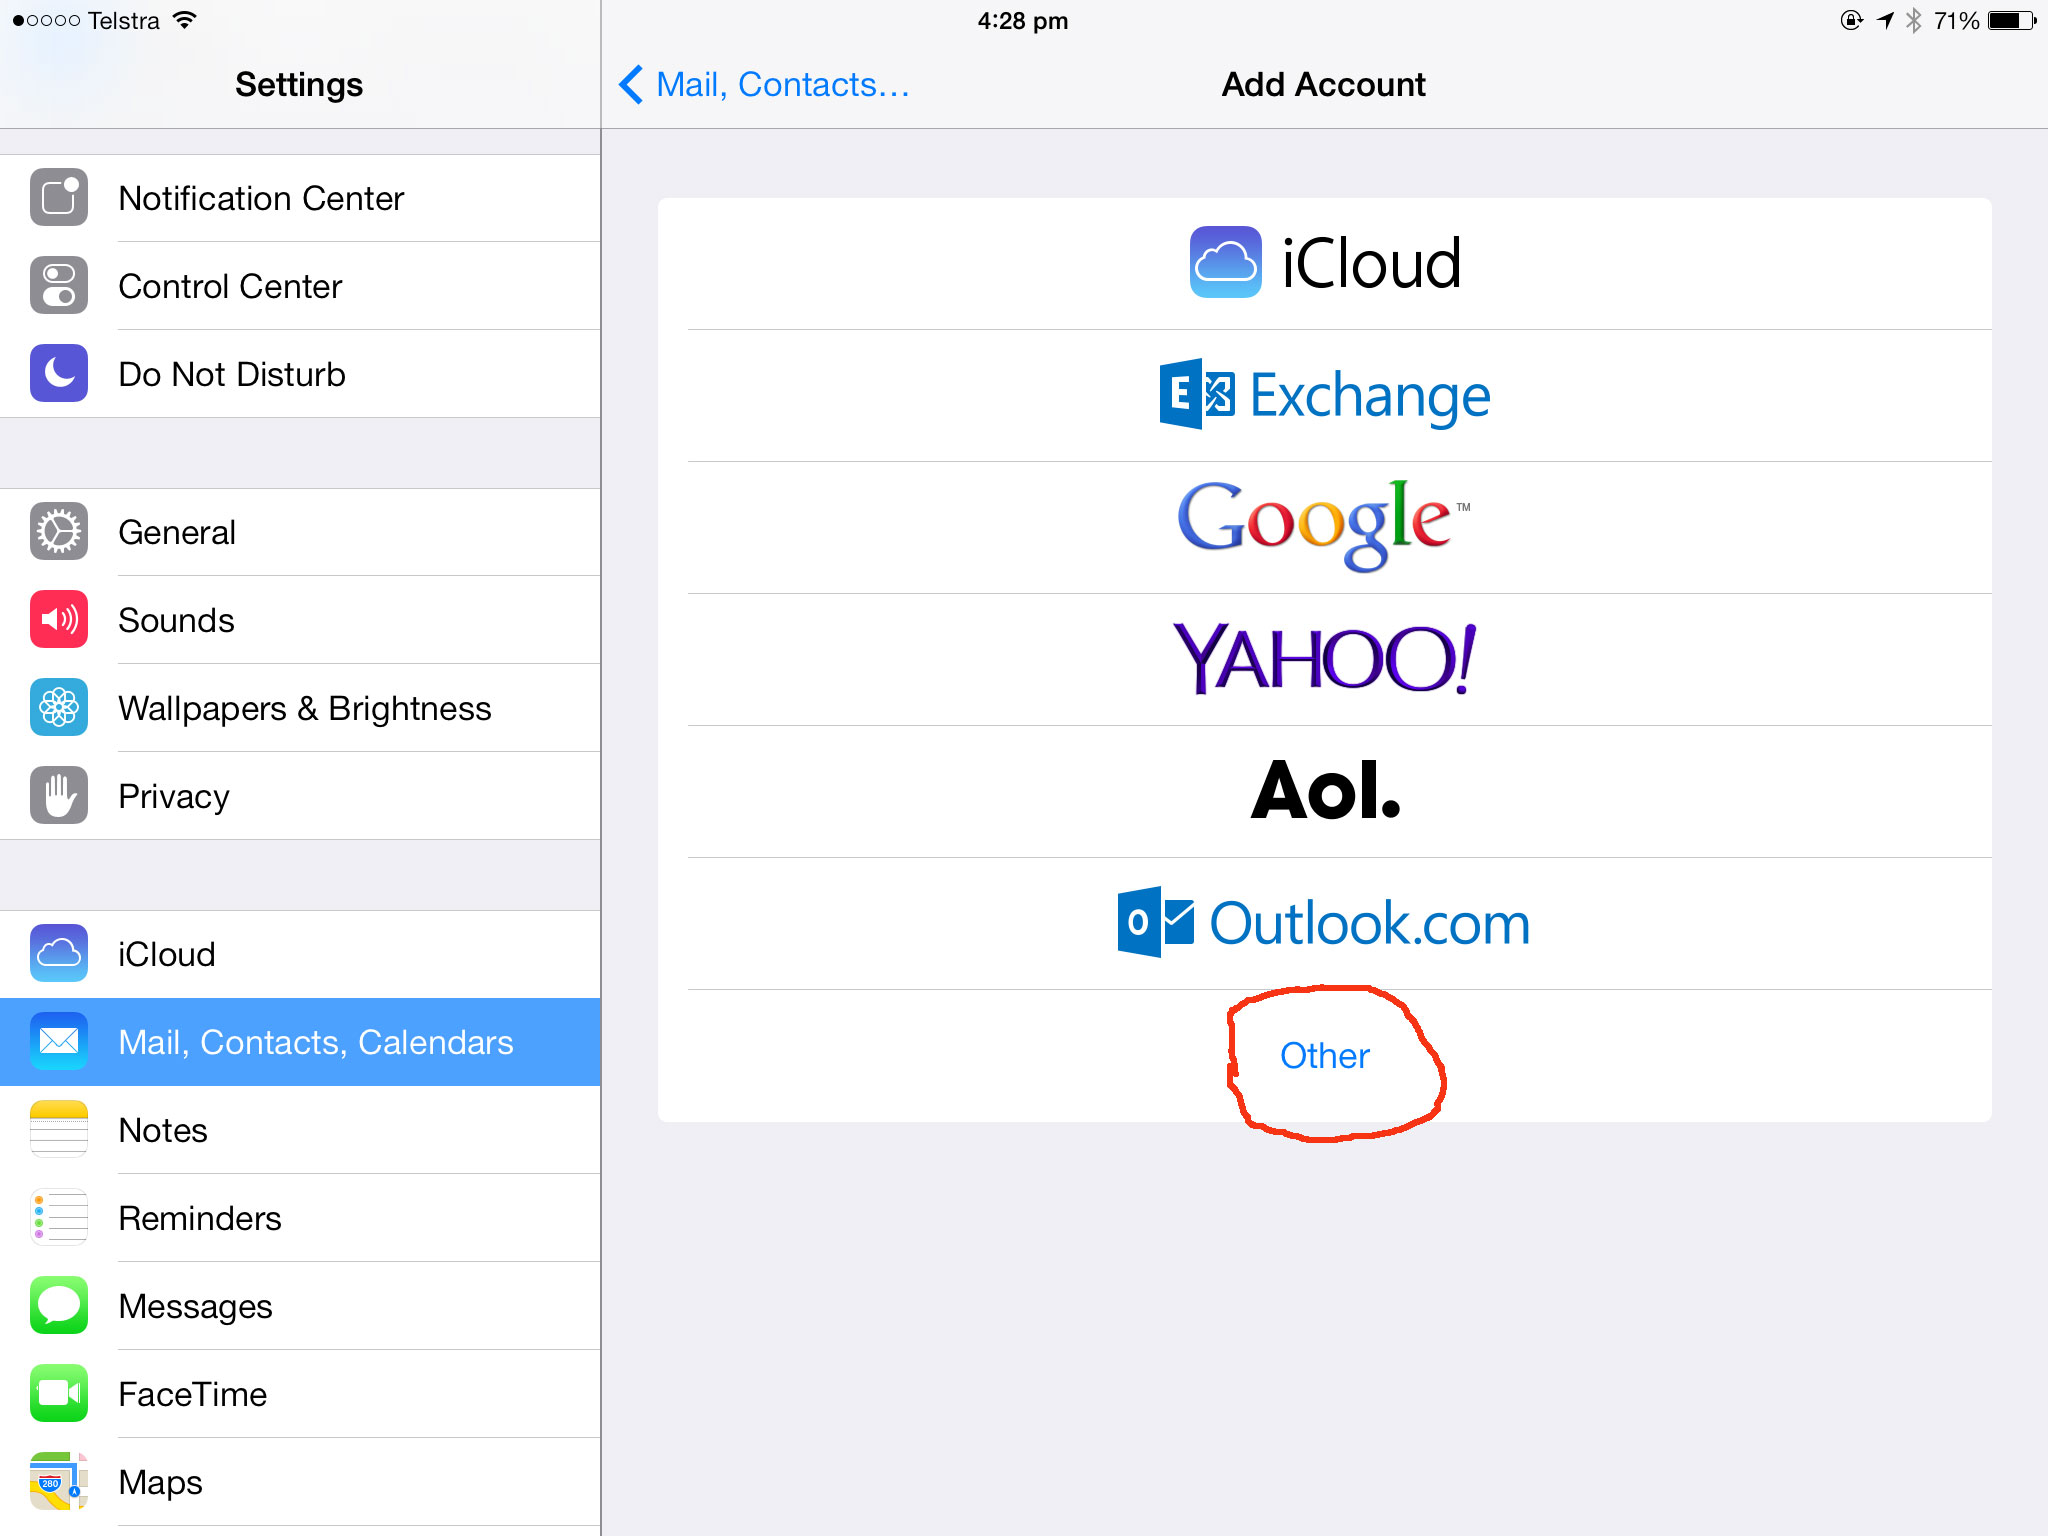
Next tap the Other selection
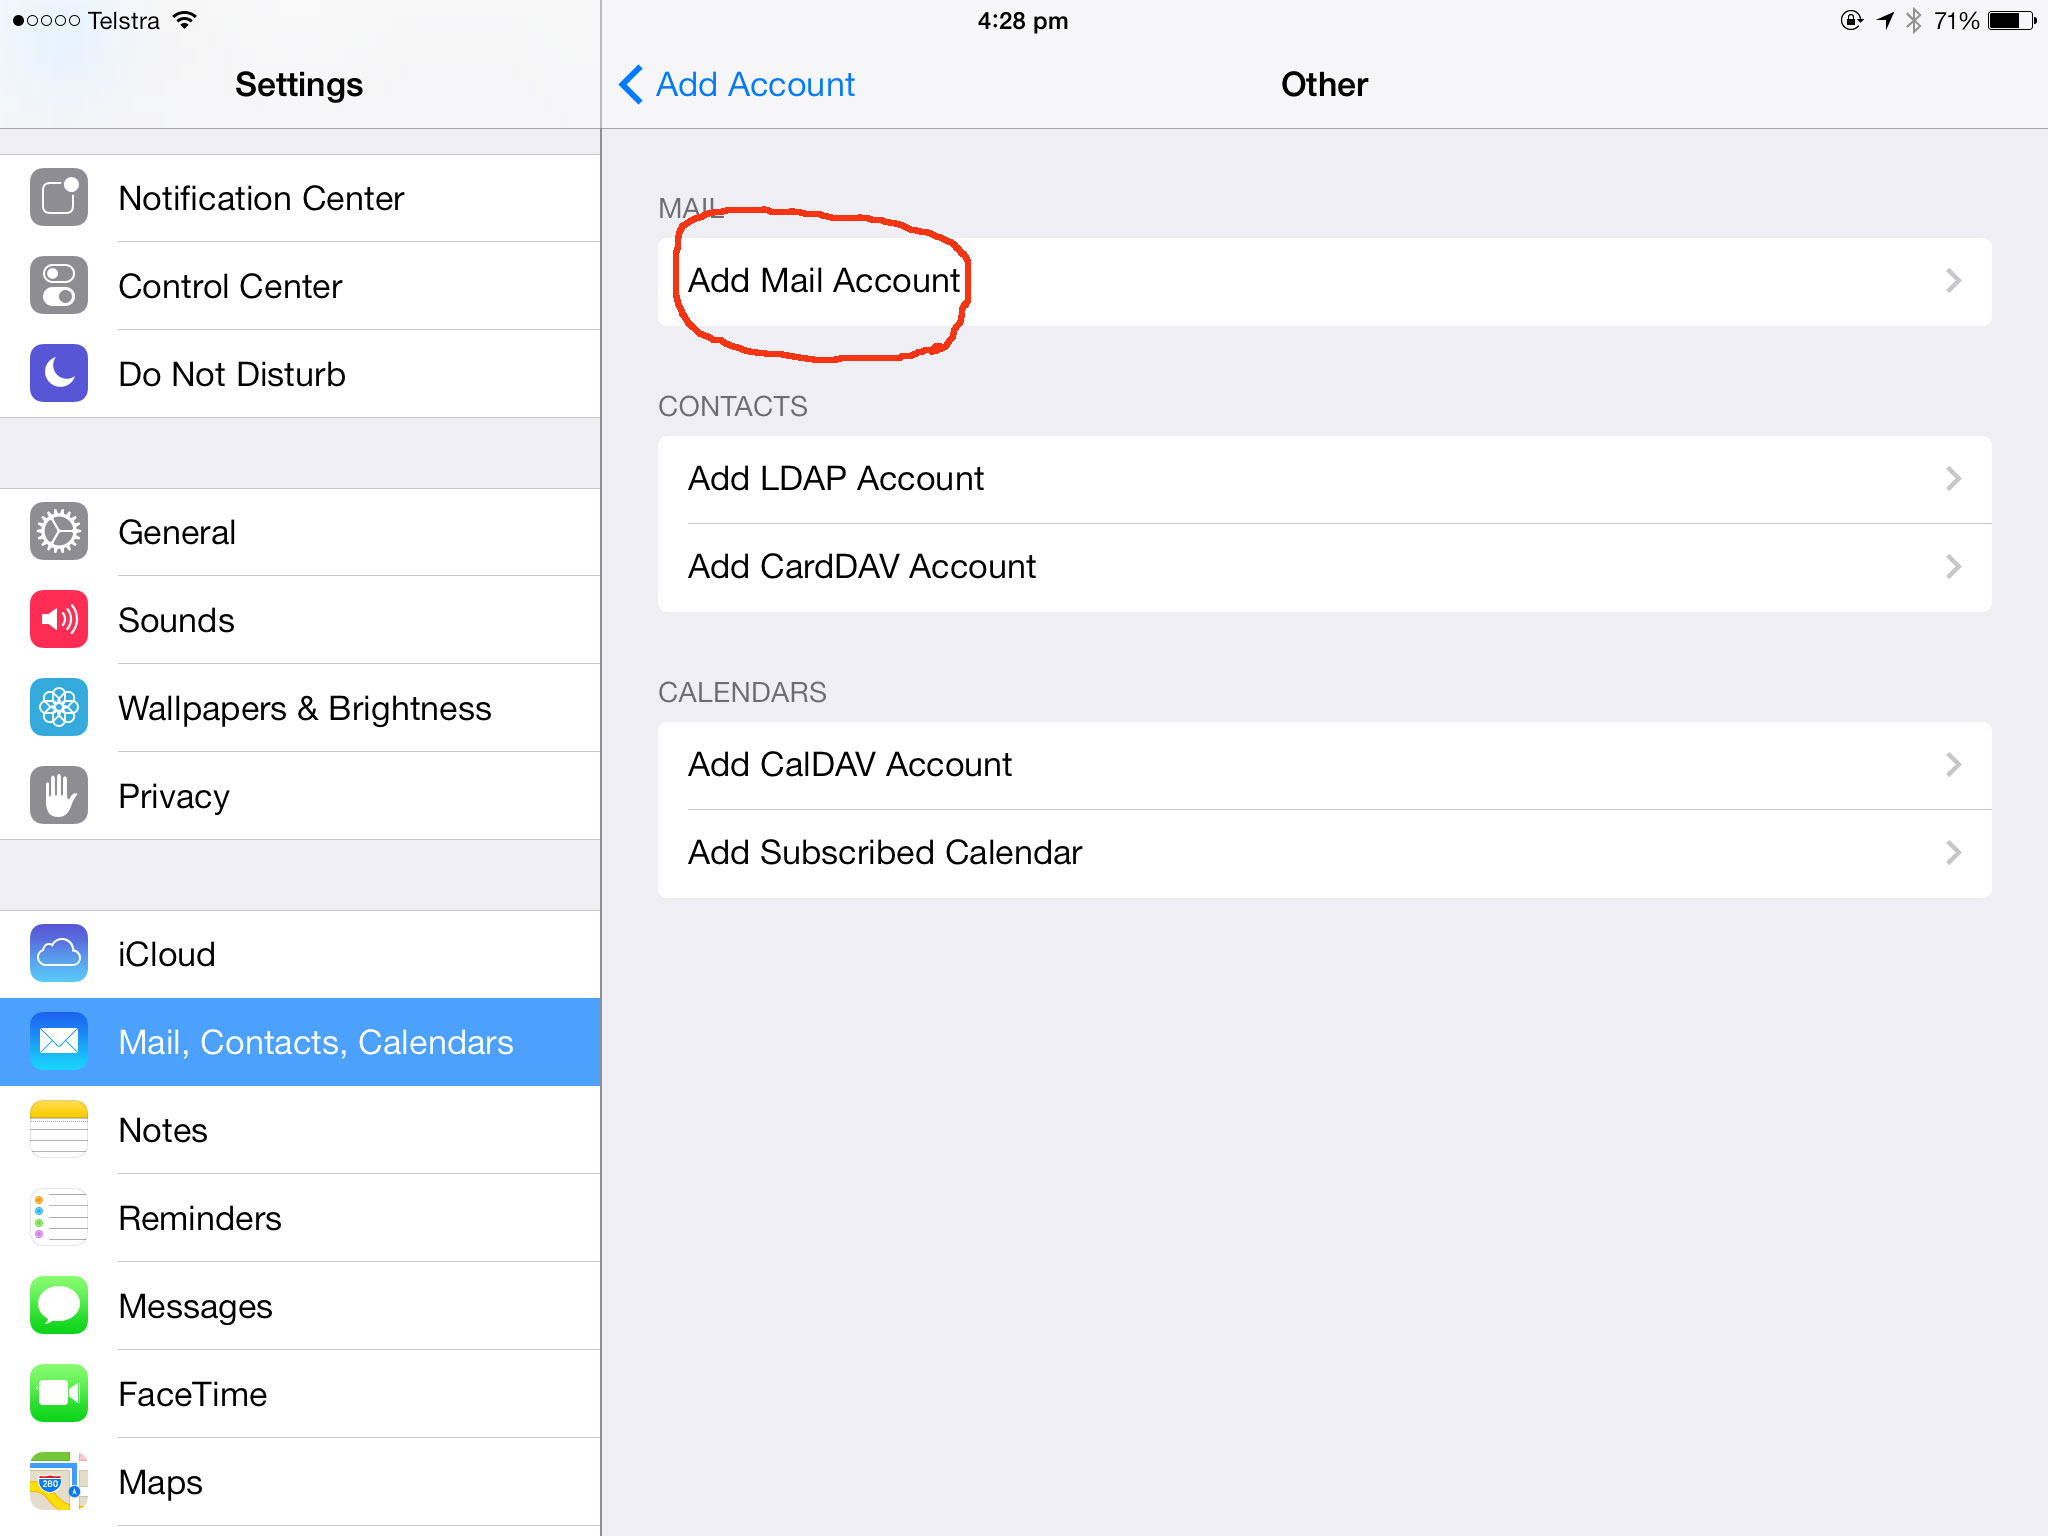
Next tap Add Mail Account
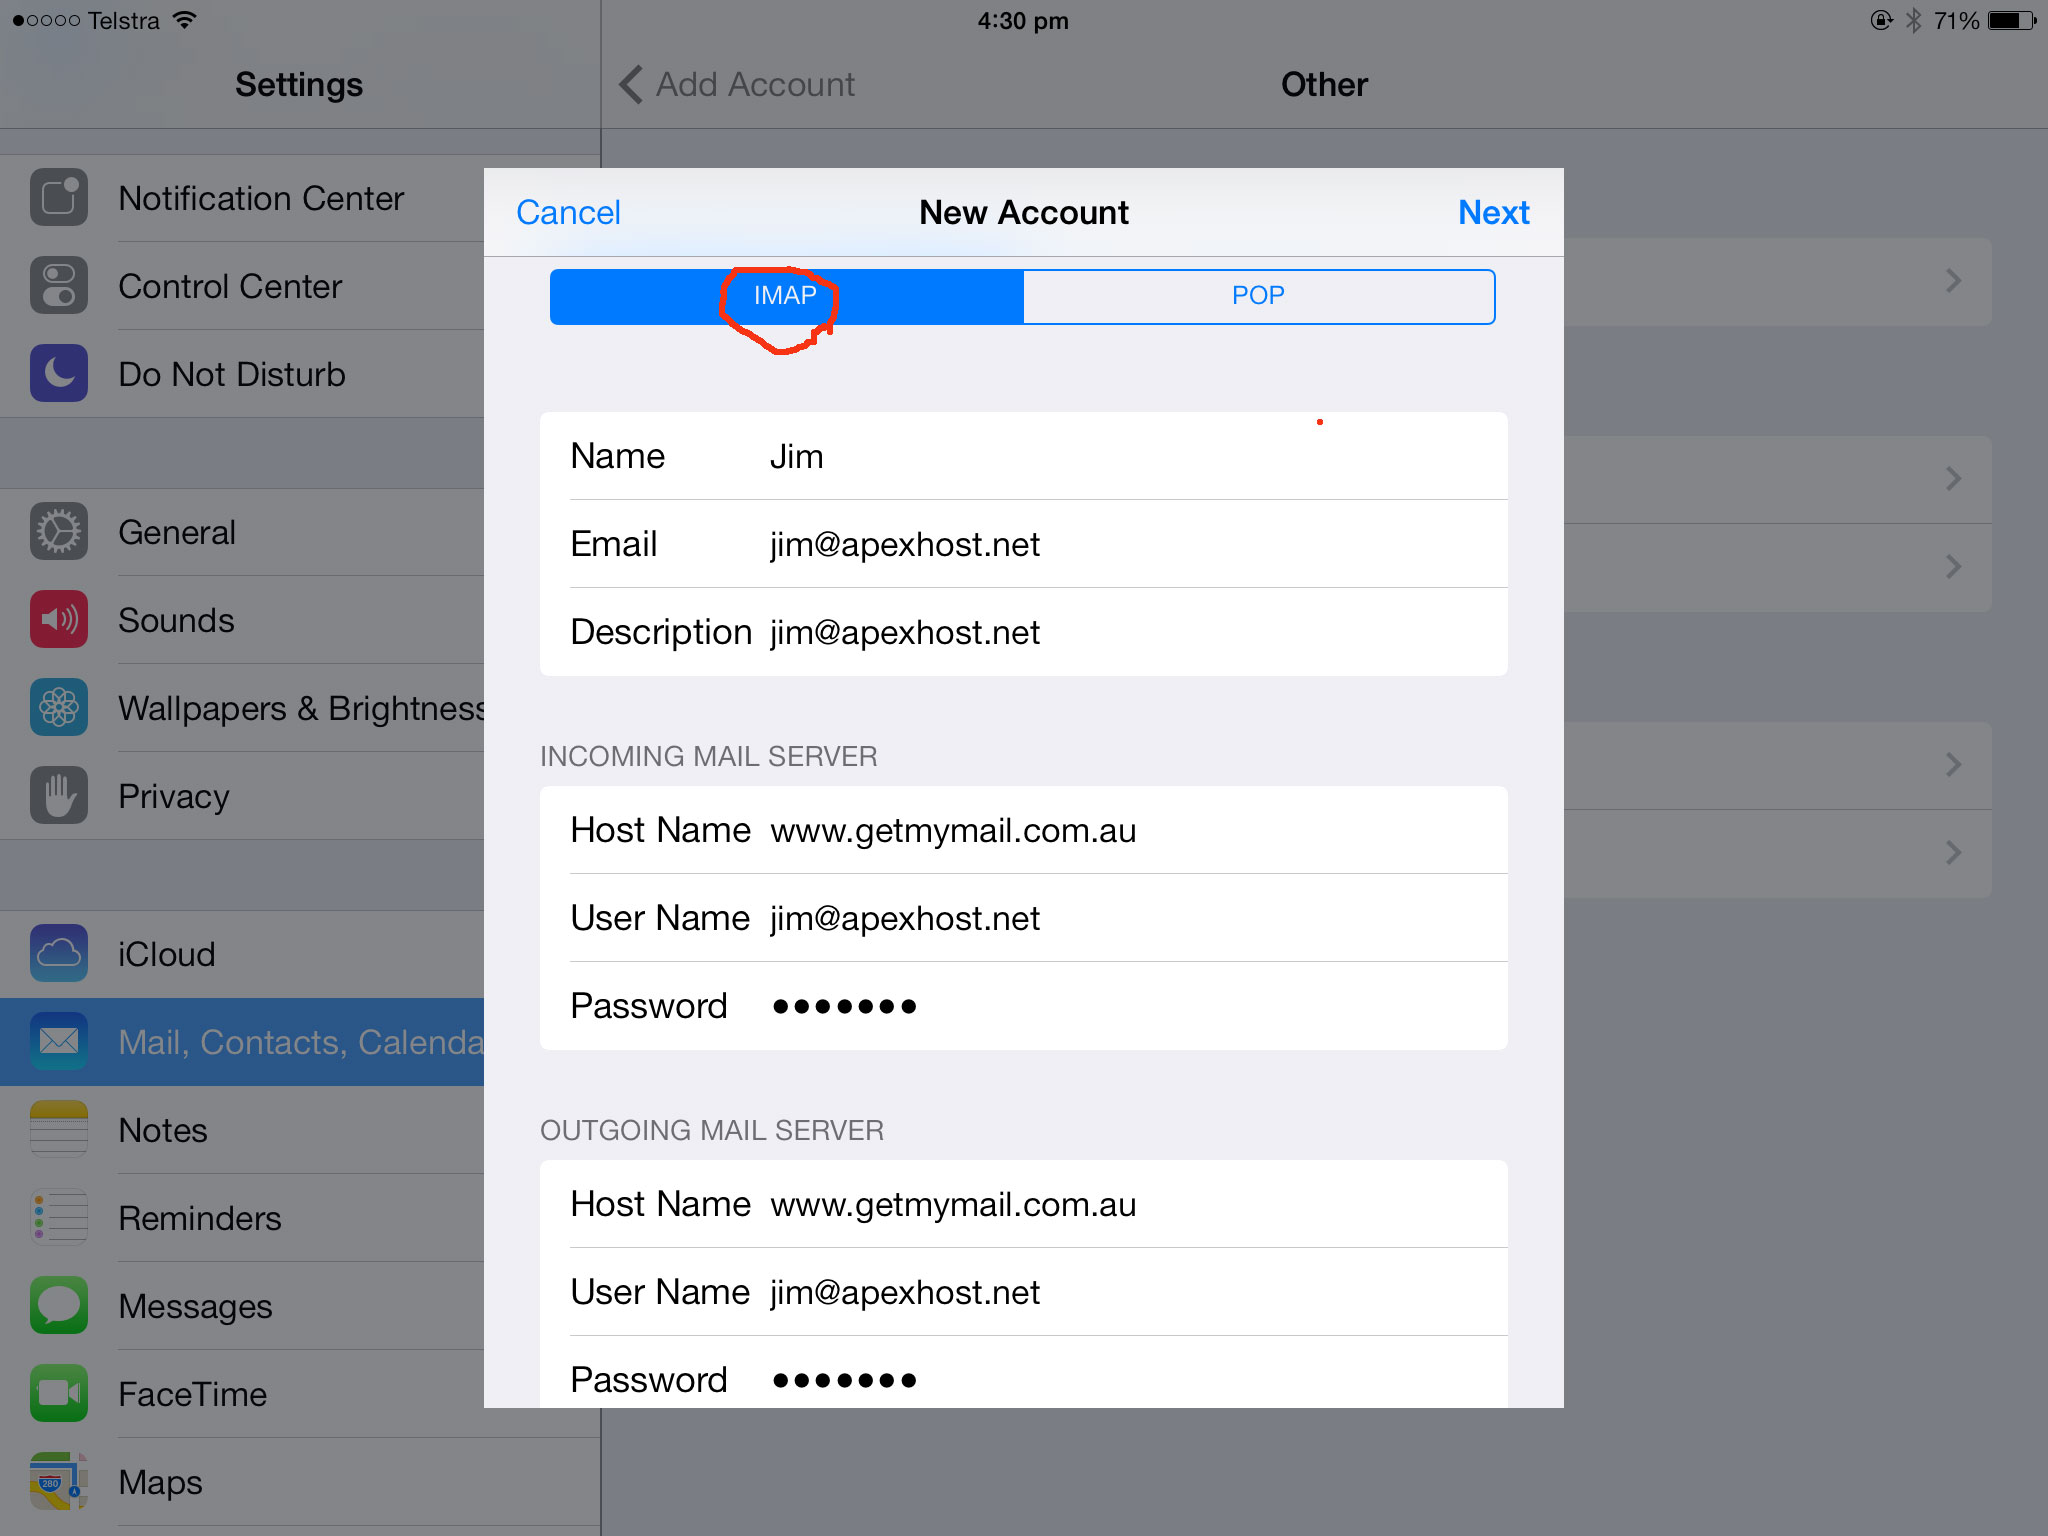
In the next screen you must enter all details exact otherwise it will not work.
Name: This can be any name, our example has Jim but you can use anything.
Email: This is the email account you just created in our control panel, do not enter the one in our piture below.
Description: This can be anything you like, our example is in the picture below.
Incomming mail server
Host name: this must be www.getmymail.com.au
Username: This is your new email account you just created, not the one in the picture.
Password: This is the password you created the new email account with.
Outgoing mail server:
Hostname: this must be www.getmymail.com.au
Username: This is your new email account you just created, not the one in the picture.
Password: This is the password you created the new email account with.
When you have done this please tripple check your spelling and passwords, click on next. It will check and may take a while.
Once completed if all details are correct your iPad setup will be completed.
You should now be able to send receive emails using your iPad
